KM3KM mercuryIIIS Power Amplifier Kit
I received my 1200 watt HF amplifier kit on Thursday and completed the build on Friday afternoon. Start to finish was about 5 hours, with breaks, taking it slow, and a glass of wine! Basic power on test was successful but I wasn't able to complete the first test, 1W RTTY, till Sunday, due to time constraints Friday evening.
I had a few minor issues, but nothing with the build or quality of the components except for the rear case fan was dead on arrival. Kenny had a new one shipped the next day. The first test instructions required some additional tweaking on my end since I'm using a software defined radio. I used FLDIGI from my PCs to generate the recommended 1W RTTY modulated signal into the Flexradio 6400M.
Overall, the component quality is top notch, and Kenny does a nice job with the instructions, high resolution pictures, and assembly videos that are included with the kit on a USB drive. The link to the full kit of parts are available online at https://www.km3km.com/product/full-kit/. I was given a 90 day shipping estimate, but received it in 60 days, so good on that too.
Pictures and notes from my build: More on LDMOS semiconductor technologies here. I expect to get MANY years of reliable service from this amp. Plus since I built this from a kit, I hope that I can repair it myself in the future if needed, assuming parts/boards are available.
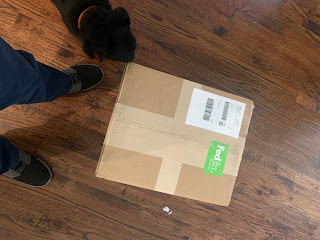
Here's the kit as it arrived via FedX - All 33.7lbs!


Comments